Screen-Printing
- davinakaur
- Nov 20, 2020
- 2 min read
Updated: Nov 29, 2020
Screen-Printing is a technique which has been used by Fashion Designer Manish Arora (MORE ABOUT HIM IN THE 'FASHION ARTISTS' POST). You can find the steps below of how you can incorporate Screen-Printing in your designs. 🤠

Pre-Production
1) Adobe Photoshop is a good software to use for this ☺️. Brainstorm ideas of the text you would like to use and type them up on Photoshop using the colour black. To create your stencil, print🖨 your text onto A4 or A3 acetate. It is best to print 2 copies of each design to ensure that your stencils are of the best quality possible. Use a glue stick or similar to join both copies of each stencil to each other. It is vital to ensure that the text is lined up as accurately as possible ✌🏼. By having 2 layers of acetate, it will ensure that your text is as black and bold as possible, otherwise the ink won't get picked up during the production process. It is also wise to prepare some A4 sized fabric pieces during this stage.
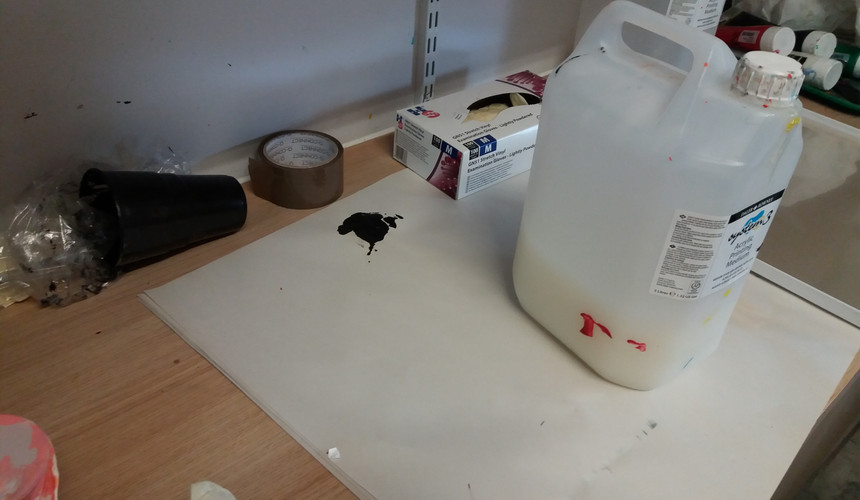
2) Lay your stencils onto the screen printer and press the 'Start' button, leaving your stencils in there for approx 451 seconds ⏱. Meanwhile, prepare your mixture by mixing 50% medium and 50% acrylic paint (any colour of your choice) in a pot. Once the screen printing machine has transferred your designs onto the board, it is recommended to use brown tape on the edges of the board to ensure that the mixture does not leak out of the board during the process 🥴. Finally, clamp your board onto the screen-printing table.
Here is a visual representation of the steps we will be going through. Please use the arrows on the slideshow below to check out the images and visualise how we are going to be doing things 😊. I hope it helps!


3) To prepare for the next step, sellotape 4 sheets of A3 acetate together (enough to match the size of the board) and place this underneath your board to keep the screen-printing table clean 👌🏼. Place newsprint on top of the acetate. It is necessary to print your designs onto newsprint first, before printing onto your fabric so that you can visualise the exact position you want your fabric to be laid out underneath your board.
Production
4) Place a generous amount of mixture close to the top edge of the board and use a squeegee to spread the mixture from the top to the bottom of the board. Hand and arm pressure is required for this step, otherwise the mixture won't be printed onto the newsprint 🤭.

5) After successfully printing your designs onto newsprint, you should now have a good idea of which position to place your fabric on the screen-printing table 👏🏼. And you may go ahead and print directly onto your fabrics!
MISSION COMPLETE! I BET IT WAS WORTH IT 🤑
Pinterest (2019) Carnaval 2020 [Online] Available from:
https://www.pinterest.co.uk/pin/238761217730628121/ [Accessed 20/10/2020]


Comments